 If you child is like mine, if she has a sleeping bag, she wants Caroline, her doll, to have a sleeping bag. This is a very easy project for a beginning sewer. Download the free pattern HERE


Sweet Dreams!!
~Julia
 If you child is like mine, if she has a sleeping bag, she wants Caroline, her doll, to have a sleeping bag. This is a very easy project for a beginning sewer. Download the free pattern HERE
 My oldest, Natalie, officially lost her first tooth! I have been preparing for this moment for quite some time, as most of the kids her age have already lost multiple teeth. Natalie has been longing (somewhat apprehensively) to join the toothless club. Find my free pattern for this adorable Tooth Fairy pillow: HERE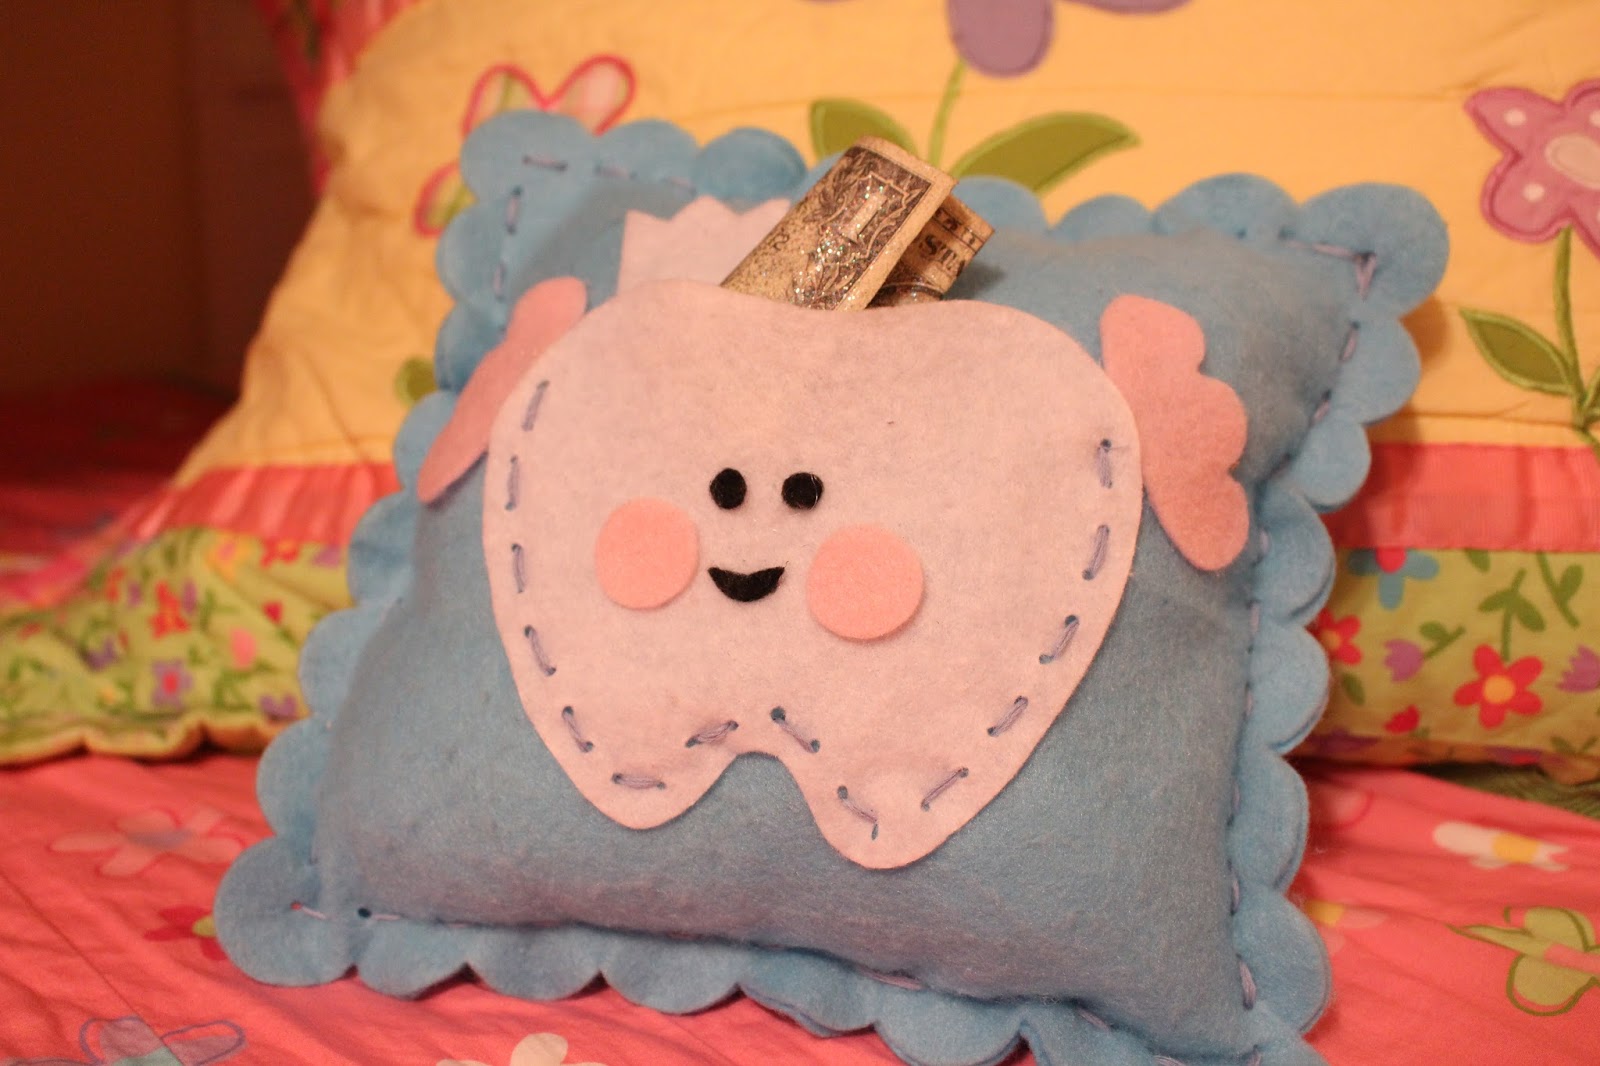




 My daughter, Natalie loves to sew with me, and she loves having clothes made for her American Girl Doll. I try to tell her not every little girl gets a new outfit each week, but it does not seem to sink in. So, almost every day she is asking to make something for Caroline and something for her to match. Last time I was at Goodwill I saw two matching skirts and jumped on it.


 My daughter, Natalie loves to sew. I am always hunting for easy projects that she can do. Sewing School 2 is an excellent book for beginner sewers. It comes with the patterns in a pouch in the back and very detailed easy to follow instructions complete with pictures.


 I bought this fabric with seed packets on the front because when I saw it I immediately thought of a friend who loves to garden. Fast forward a year and a half and I was headed to visit her and still couldn't decide what to do with it. I wanted to do something different. So, I turned to Pinterest and found exactly what I was looking for: No Paper, Paper Towels!! With a day to complete the project, amidst packing, three kids and cleaning the house I carved out two hours.
 These panels are so easy and fun. They can be purchased for as little as $1.00.


 Here's another great idea for a gift or something to use at home. I had two pieces of fabric that were given to me. The front is the United States and at the bottom of the post is the back the World. I improvised to make the two fit and came up with this arrangement. My kids love pockets, so I added two. At this stage of my life, I was not able to get a picture without the help of two youngsters :) I laid the top and bottom fabric pieces out and cut them to match evenly.


