Showing posts with label tutorials. Show all posts

Friday, June 21, 2013

DIY Twig Wreath


This is a really fun wreath to make because it turns out super cute, costs very little and is an easy (no fail) project for kids to help with! The largest portion of time spent making this wreath, was collecting all the twigs from the yard, which could easily be done by kids of any age. My daughter (age 6) helped me gather these sticks and broke them all down into the right size.


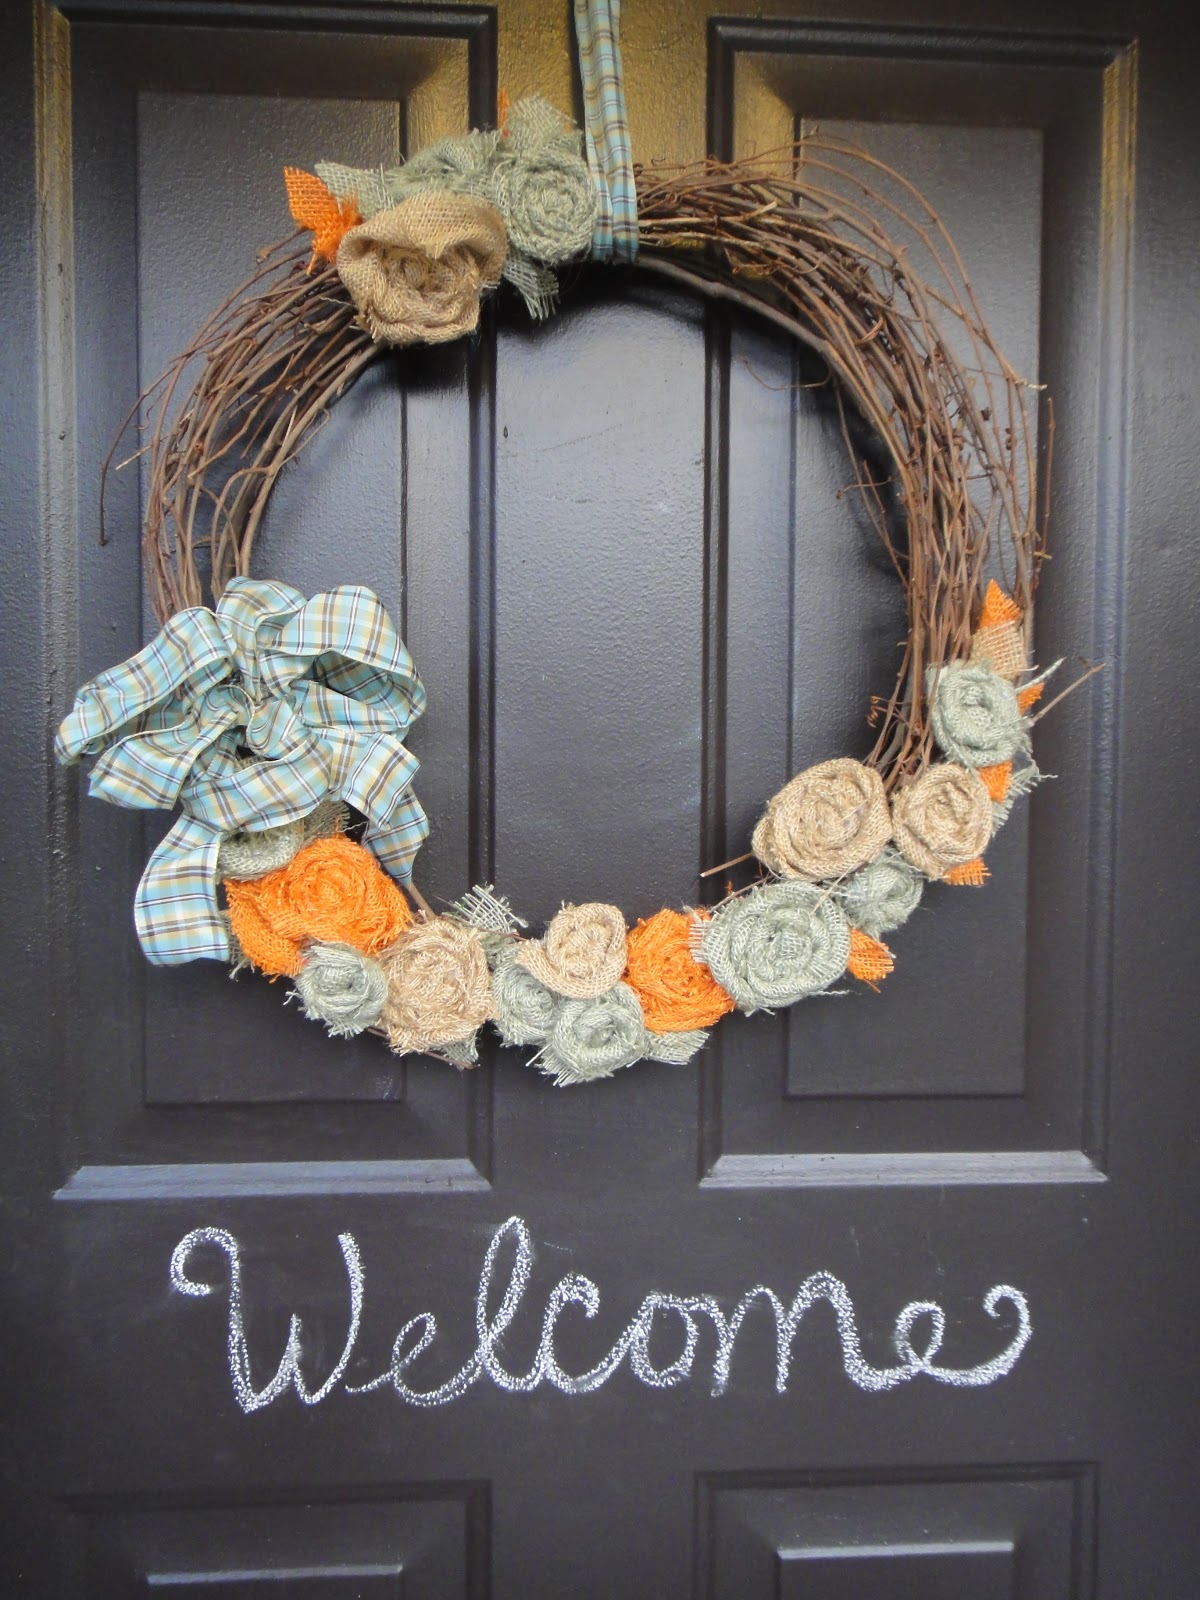
I cut out a cardboard frame using a large dinner plate for the outer edge and a luncheon size plate for the inside. I hot glued all the sticks in place and made the rolled burlap flowers and twine decorations. Whala! This one was made for a friend, but I'm seeing more of these in our future :)


Here are some other great designs to inspire you!


Linked up here House of Rose

Tuesday, January 8, 2013

Burlap Valentine Wreath

This red burlap heart wreath is super cute and perfect for Valentine's Day! Find yourself some red burlap, or purchase it from Hobby Lobby's On-line store: Here. For this wreath, I used the same technique you can see demonstrated in my burlap wreath tutorial: Here.


Use a heart shaped wreath form like the one seen here. I got mine at Hobby Lobby and you can find the exact one at their site for only $2.47: Heart Wreath


Linked Up with 

Wednesday, December 19, 2012

DIY Fabric Books $.99 Easy Gifts

These panels are so easy and fun. They can be purchased for as little as $1.00.


Trim the edges leaving a consistent seam allowance.

Each panel comes instructions of what pages should be sewn together.


Sew them together and press.

Trim the corners, so when you turn them the corners will be square.

Turn the pages right side out.


Sew down the center of the book creating a binding and connecting the pages.


~Julia

Machine Quilting a Small Quilt


Here's another great idea for a gift or something to use at home.  I had two pieces of fabric that were given to me. The front is the United States and at the bottom of the post is the back the World. I improvised to make the two fit and came up with this arrangement. My kids love pockets, so I added two. At this stage of my life, I was not able to get a picture without the help of two youngsters :) I laid the top and bottom fabric pieces out and cut them  to match evenly.

I hand tacked the two pieces together with batting between.  Or you can use pins. I stabbed myself once while sewing them together because I used so many pins and forgot to be careful. If you do not do this step, then the two fabric layers are likely to shift while you are sewing them together.

Then I started to sew the layers together using a quilting foot. You do not have to have a quilting foot it just gives a more finished look. Good tools help with a good finish.

I used a disappearing ink pen to draw sewing lines six inches apart on the front panel piece.


Roll your fabric as you sew, so it will fit in the arm of your sewing machine.

Instead of quilting diagonally across my pockets, I simply followed the pocket seams to attach the fabric, batting and fabric layers.

Once you have finished quilting, turn the bottom piece of fabric, aka binding, over. I made my 3/4 of an inch because that's the amount of fabric I had. You can determine the width based on your liking.
When I got to the corner, I just folded the two edges and sewed at a slight angle to reinforce it.
This is the finished product from the back.

Get Quilting!!
~Julia

Wednesday, December 12, 2012

Repurpose One Sweater into Five Gifts

I have stared and stared at this beautiful sweater that a friend gave me. I didn't want to donate it to Goodwill, but it was just too short. You know styles change up and down.  I put it on my daughter to see if there was any way I could make it look cute on her, but I just couldn't make it work. I was so afraid to cut it. Finally, I realized I had nothing to loose and I would just try!! So I made my first cut.  I started by making an iPad Cozy or iPad Case, whatever you would like to call it.  (Click Here for Sarah's fabric iPad or Tablet Case tutorial)


After that turned out well, I was emboldened to see what else I could do with the scraps. My daughter has been begging me to make her mittens.  I was very reluctant because I just couldn't see them turning out well and was still afraid to cut.  Here is the result.


After that I just couldn't stop myself.  I had other scraps I was going to sew into American Girl Doll Clothes and I thought why not give this a try? I purchased American Girl Doll Ice Skates online for $7 when I purchased a Doll and received free shipping. They will be a great accent to this sweater and pant outfit. Look for that picture and tutorial in an upcoming post!! It was very easy.


Check it Out Here

Be daring and cut. Just make sure you sew a straight stitch, then a zig-zap stitch and another straight stitch on the other side to make sure the knit doesn't unravel.

Check out my other post: Repurposed Sweaters for more up-cycling ideas! Happy Sweater Repurposing!
~Julia

Monday, November 26, 2012

15 DIY Wreath Ideas

This is a collection of the wreaths I've made this past year. I hope you find some inspiration! The picture on the left is a piece of pipe insulator foam taped together and wrapped in burlap. Secure burlap with hot glue, then add rolled flowers made of burlap and fabric. Be sure to check out some of the tutorials I've done:

Dollar store ornaments and a coat hanger!

Grapevine wreath with rolled burlap flowers
Burlap and a heart shaped wreath form
Dollar store garland wrapped around a foam pipe insulator. Glue ornaments to the greenery.
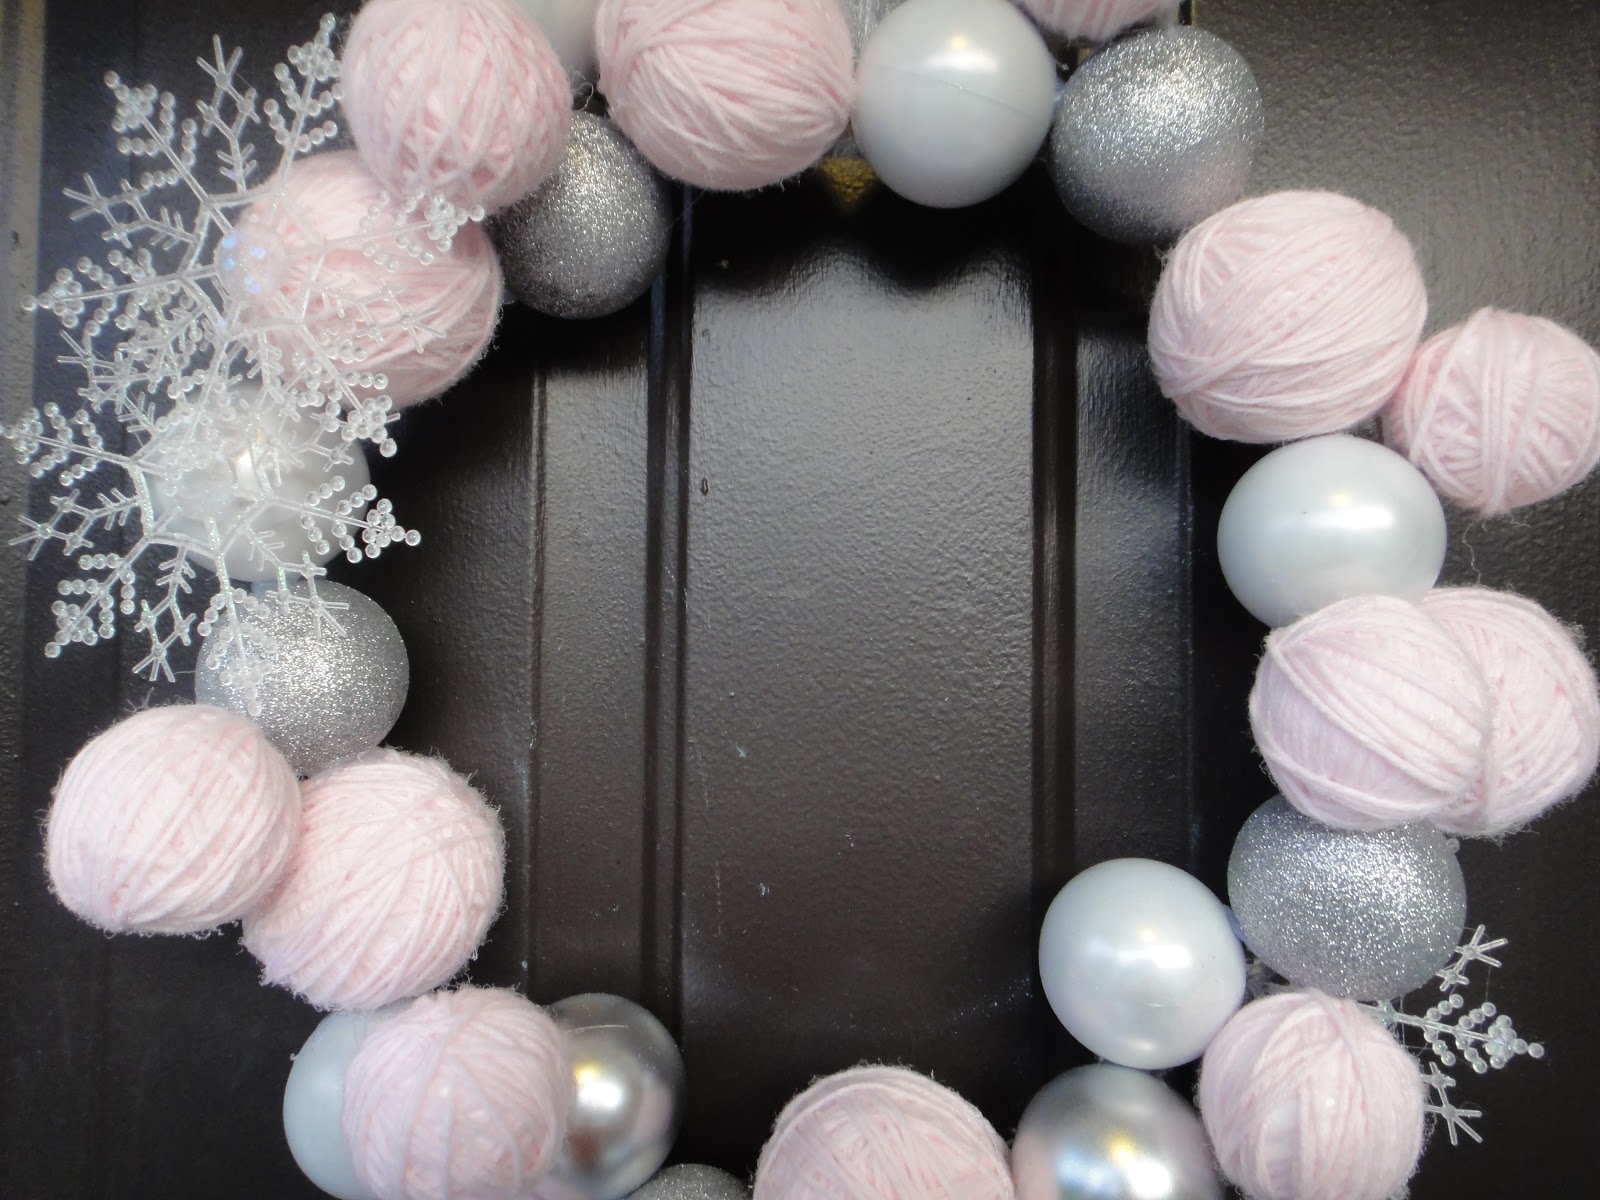
Dollar store ornaments and foam balls wrapped in yarn.


Linked Up Here:

Bedifferentactnormal.com

Funky Junk Interiors

Skip to My Lou Mondays